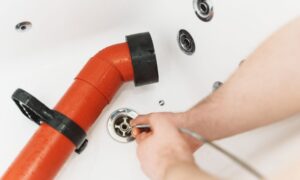
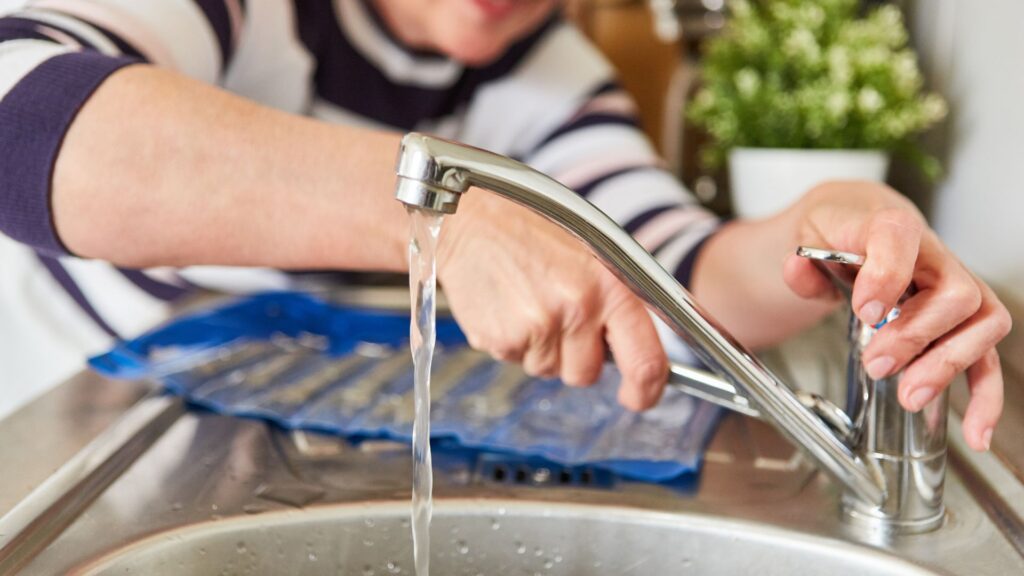
Leaky faucets are annoying and can waste a lot of water and increase long-term water costs. A worn-out faucet cartridge is one of the most frequent causes of a leaky faucet.
A faucet cartridge is a small valve that regulates water flow and is situated inside the faucet. The good news is that changing a faucet cartridge requires only a few easy steps. In this guide, you will learn how to replace faucet cartridges in your sink, shower, or bathtub faucet.
We have covered the complete process of replacing a faucet cartridge in this guide, including how to choose the type of cartridge, remove the old cartridge, and replace it.
We have shown some tips and methods to make the process as simple as possible. With the help of these instructions, you’ll be able to complete this simple plumbing task quickly and get your faucet back to full functionality soon.
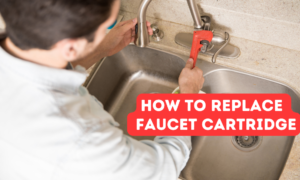
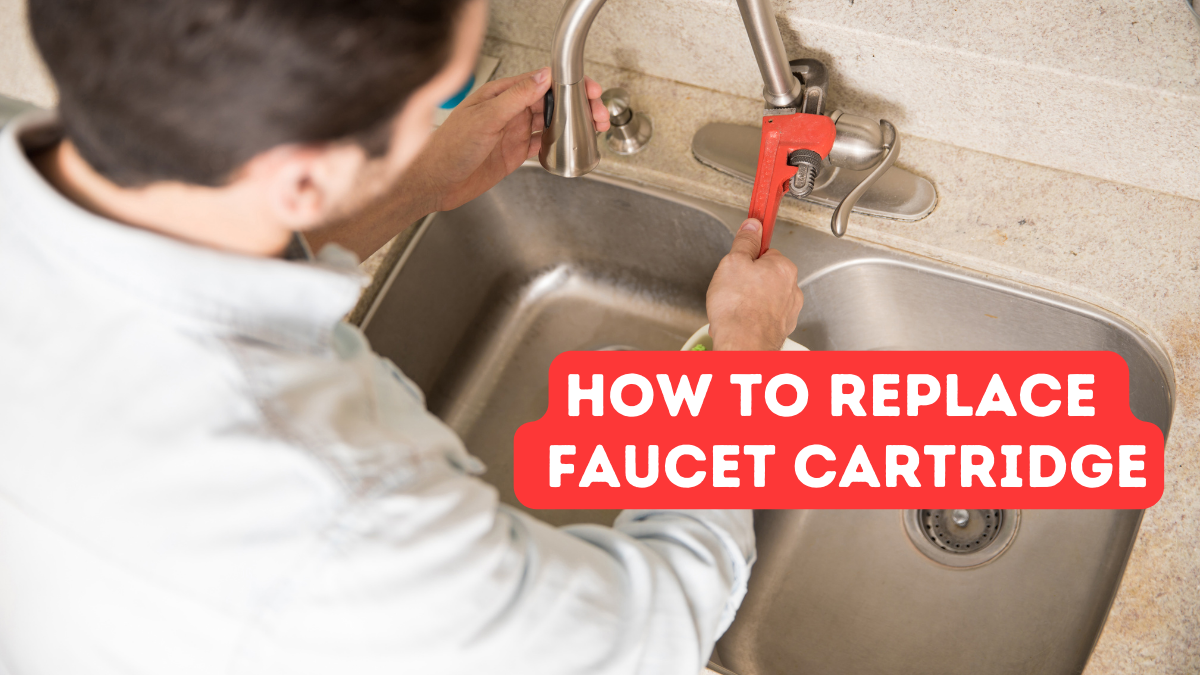
Simple Steps to Replace Faucet Cartridge:
1. Shut the Water off.
Upstream of the shower controls, turn off the water. There may be intermediate fixture shutoff valves in your house, usually hidden behind a wall panel on the side opposite the shower. Some shower faucets have water shutoff valves built right into the faucet body.
To replace faucet cartridge we need to understand what are important points we should have to follow so turn off the valves with a screwdriver to stop water flow from the hot and cold supply tubes into the faucet part. After you take off the escutcheon plate from the shower faucet, you can see these shutoffs.
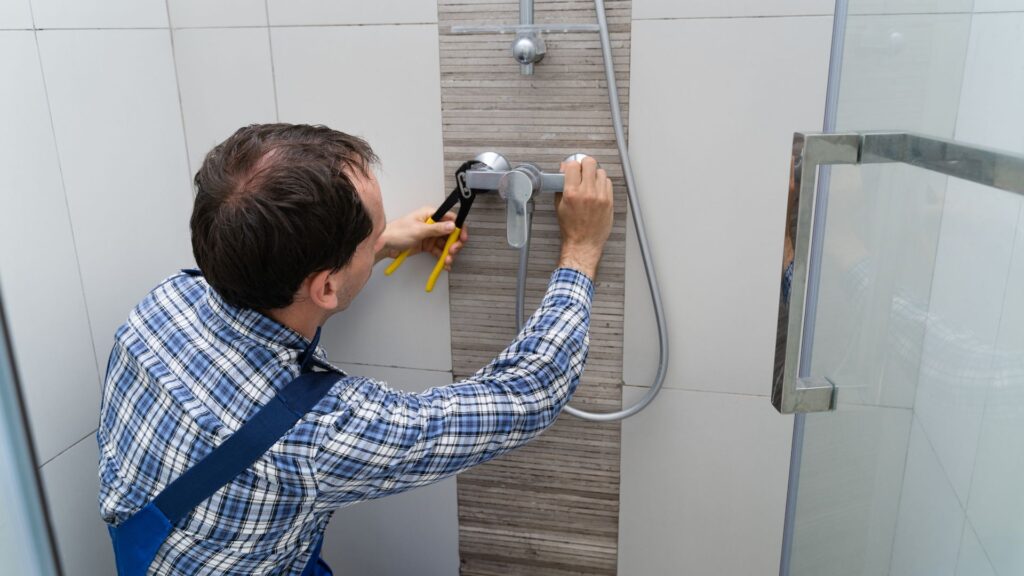
2. Take off the Faucet Handle.
With a screwdriver or knife, carefully pull away the cap that is likely attached to the end of the shower faucet handle. Remove the cap and then unfasten the handle screw. The handle screw may occasionally need to be removed with a hex wrench.
3. Remove the Escutcheon plate
Typically, an escutcheon, or broad-facing plate, covers the faucet valve. It can be removed by removing the mounting screws holding the escutcheon to the wall. To get rid of the escutcheon, you might have to cut through a caulk bead surrounding it.
4. Take Away the Retaining Clip.
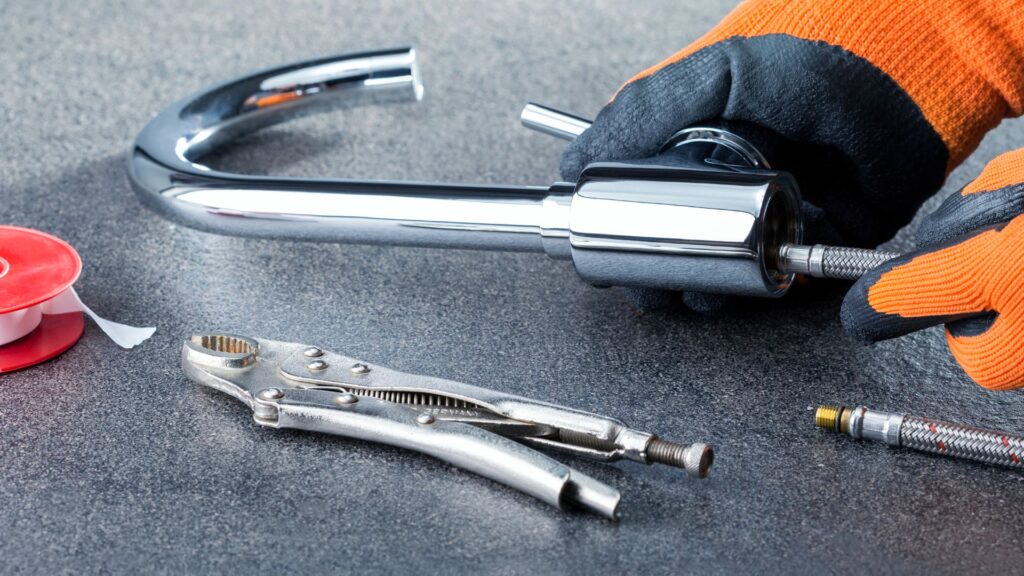
Typically, a metal retaining clip secures the faucet cartridge inside the faucet body. To remove this U-shaped retention clip, use a flat-head screwdriver. Remove any washers that are present on the cartridge’s end. The cartridge must also be removed from some shower faucets to access the hex nut.
5. Pull the Cartridge Out
Slide out the old cartridge from the faucet. Most of the time, cartridges slip in and out without turning or twisting, but occasionally, you may need to hold the stem with channel-lock pliers and turn the cartridge to remove it.
6. Replace the Cartridge
If you line up the tab on the shower cartridge with the groove on the faucet body, it will simply slide into place. Replace the retaining clip and hex screw, if any, after inserting the cartridge. Removed washers should be replaced.
7. Replace the Handle and Escutcheon.
This is the final step for how to replace faucet cartridge. To replace the control handle and escutcheon plate, go back and do the preceding stages. At the source, turn on the water. Make that the replacement cartridge is appropriately controlling the water flow by repeatedly turning the on and off the shower.
How Do I know if the Faucet Cartridge is Bad?
Several indications could suggest a damaged faucet cartridge:
Drips or leaks: If your faucet drips or leaks, even while it is off, it is likely that the cartridge needs to be replaced since it is worn out.
Difficulty in training handle: The difficulty of the handle could indicate that the cartridge is worn out or damaged if you find that your faucet’s handle is difficult to turn or feels slack.
Decreased water flow: Reduced water flow may indicate that the cartridge is partially clogged and needs to be replaced if your faucet’s water flow is weaker than usual.
Noisy faucet: A noisy faucet may indicate that the cartridge needs to be replaced if it makes a loud or screaming noise when you turn it on or off.
Problems with the water temperature: If you notice that the water temperature is inconsistent or difficult to regulate, this could mean that the cartridge needs to be replaced.
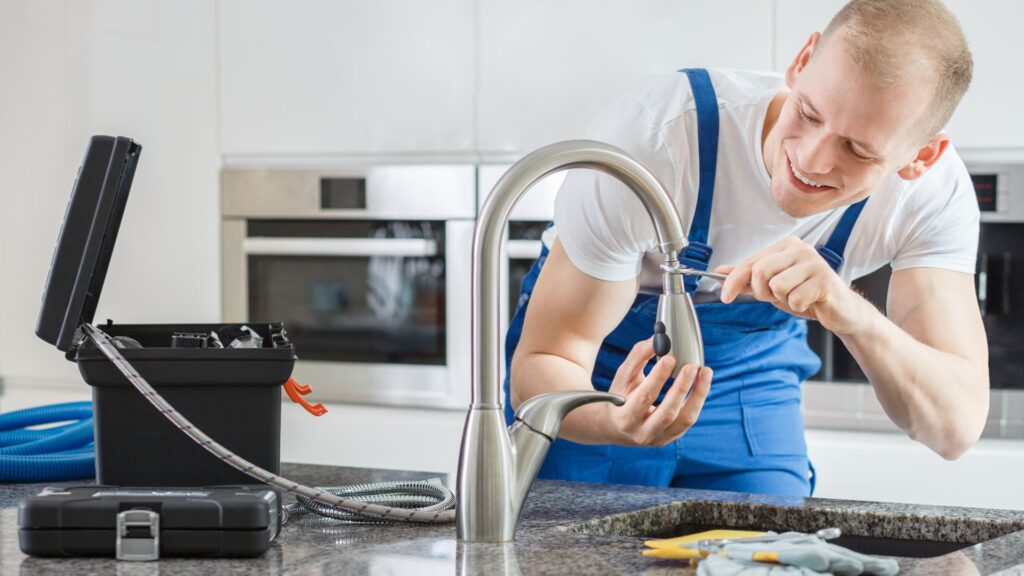
How do you Replace a Single-Handle Faucet Cartridge?
Follow the below-listed steps to change a single-handle faucet cartridge is provided below:
Assemble the required equipment: A fresh cartridge, a cartridge puller, and a set of telescoping pliers are needed. Additionally, prepare a towel or pail to catch any water that may leak during the operation.
Turn off the water supply: To stop water from flowing while replacing the faucet, find the shut-off valves under the sink and turn them off.
Remove the handle: To remove the handle, pry out the pin or screw, holding it with a screwdriver. After that, gently detach the faucet’s handle.
Remove the cartridge: The retaining clip can be removed using the adjustable pliers. Next, take out the old cartridge from the faucet using the cartridge puller.
Install the replacement cartridge: Ensure the new cartridge is positioned correctly before inserting it into the faucet. To keep the cartridge in place, replace the holding clip.
Replace the handle, then use the screwdriver to reattach the pin or screw holding it in place.
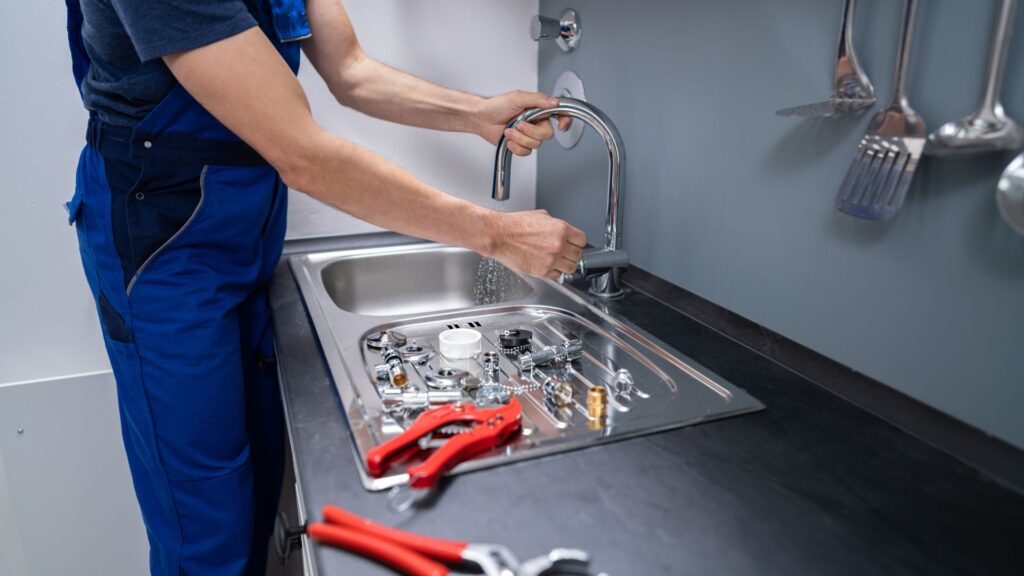
How to Replace Faucet Cartridge Double Handle?
A Delta two-handle faucet cartridge replacement is a quick and simple do-it-yourself project. The manufacturer’s instructions should always be followed before beginning the process because different Delta faucet models may have somewhat further instructions for replacing the cartridge. Here is a general how-to for changing a cartridge in a Delta two-handle faucet:
- A fresh cartridge, a cartridge puller, and a set of telescoping pliers are needed. Prepare a towel or pail to catch any water leaking during the operation.
- Find the faucet’s shut-off valves under the sink and turn them
- To stop water from flowing while replacing the faucet, find the shut-off valves under the sink and turn them off.
- To remove the handles, pry out the pins or screws holding them in place with a screwdriver. After that, slowly remove the faucet’s handles.
- The retaining clips holding the cartridges in place can be taken out using the adjustable pliers. After that, take out the outdated cartridges from the faucet using the cartridge extractor.
- Finding the correct replacement cartridge requires knowledge of the precise model of your faucet because there are various types of cartridges available for Delta faucets.
- Make sure they are positioned correctly before inserting them into the faucet. To keep the cartridges in place, replace the retaining clips.
- Replace the handles and use the screwdriver to secure the screws or pins holding them in place. Reinstall the handles.
- Restart the water supply by reopening the shut-off valves and looking for leaks.
- Check the faucet’s functionality by turning it on and off and observing the water flow.
Faucet Cartridge Types
There are various faucet cartridge types, each has a unique design and purpose. The following are different types of faucet cartridges:
Compression Cartridges: Found most frequently in older faucets, these are the most basic form of faucet cartridge. They are made up of two washers and a stem that compress to regulate the water flow.
Ceramic Disc Cartridges: To manage water flow, these cartridges have two ceramic discs that rotate in opposition to one another. They are frequently utilised in contemporary faucets because they are more reliable and effective than compression cartridges.
Ball-type Cartridges: To control water flow, these cartridges have a rotating metal or plastic ball inside the faucet. They are frequently employed in single-handle.
Ball-type Cartridges: To control water flow, these cartridges have a rotating metal or plastic ball inside the faucet. They are frequently used in faucets with one handle.
The water flow and temperature are controlled by these cartridge valves, which are comparable to ceramic disc cartridges. They are frequently utilised in bathtubs and shower faucets.
Diverter cartridges regulate the water flow between various outlets, such as a showerhead and a bathtub spout.
FAQ’s
You should initially look for leaks or drips from the faucet to see if a cartridge needs to be replaced. The cartridge may be worn and need to be replaced if there are leaks or drips. A tough time twisting the handle or a loose feeling in the handle are further signs of a defective cartridge.
Water not flowing out of the faucet or a low water flow are other signs of a malfunctioning cartridge. You can also take the cartridge out and look for any noticeable wear or damage. The cartridge may need to be replaced if it appears worn out or damaged. Depending on usage, a faucet cartridge should be changed every 3 to 5 years.
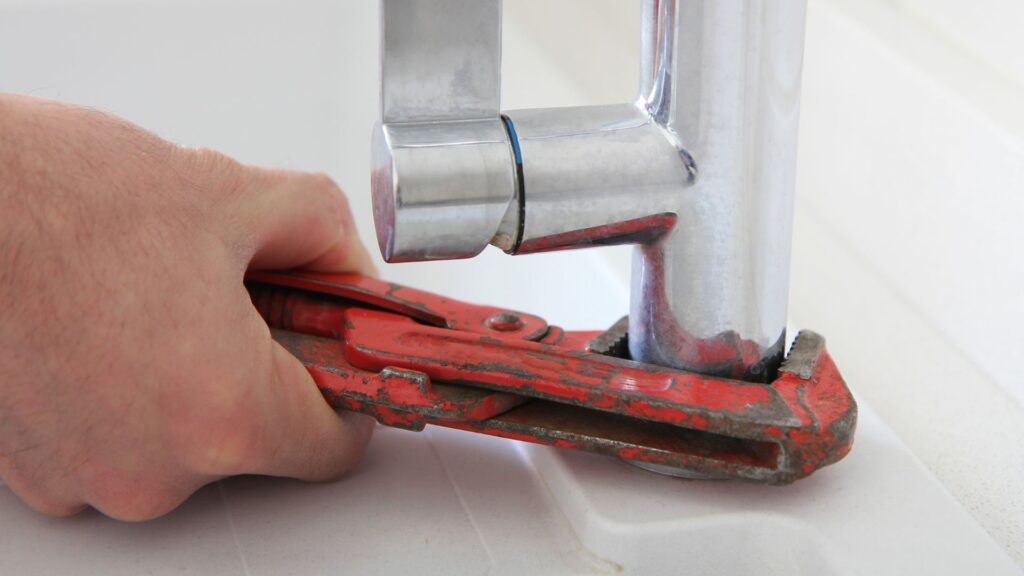
A crescent wrench, a screwdriver, and a replacement cartridge are required to replace a faucet cartridge. First, turn off the water flow to the faucet by closing the valves under the sink. The handle should be lifted off the tap after the set screw has been loosened with a screwdriver.
Use the crescent wrench to release the collar or retaining clip holding the cartridge. Pull the cartridge out of the faucet’s body carefully. Examine the faucet body for damage or debris after cleaning it. Replace the retaining clip or collar after installing the replacement cartridge into the faucet’s body. Reattach the handle, then restart the water flow.
A two-handle faucet’s cartridge replacement is comparable to a single-handle faucet. A crescent wrench, a screwdriver, and a replacement cartridge are among the items you’ll need. First, turn off the water flow to the faucet by closing the valves under the sink.
The handles should be lifted off the tap after releasing the set screw with a screwdriver. Use the crescent wrench to remove the collar or retaining clip holding the cartridges. Pull the cartridges out of the faucet’s body with care. Examine the faucet body for damage or debris after cleaning it. After replacing the holding clip or collar, put the fresh cartridges within the faucet’s body. The handles are back on. Reattach the handles, then restart the water flow. Make sure the handles turn quickly and check the faucet for any drips or leaks.